As luck would have it, there are oodles of St. Patty’s Day crafts to keep your kids happily entertained. We’ve rounded up 10 of our favorites that are just right for little ones.
Simple St. Patrick’s Day Crafts for Kids
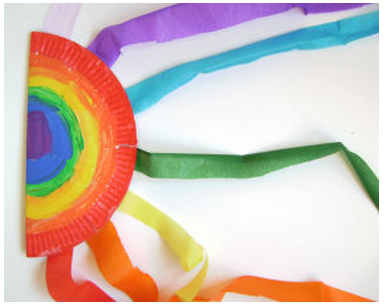
Rainbow Streamers A simple craft made from a paper plate, paints and tissue paper strips.
via Activity Village
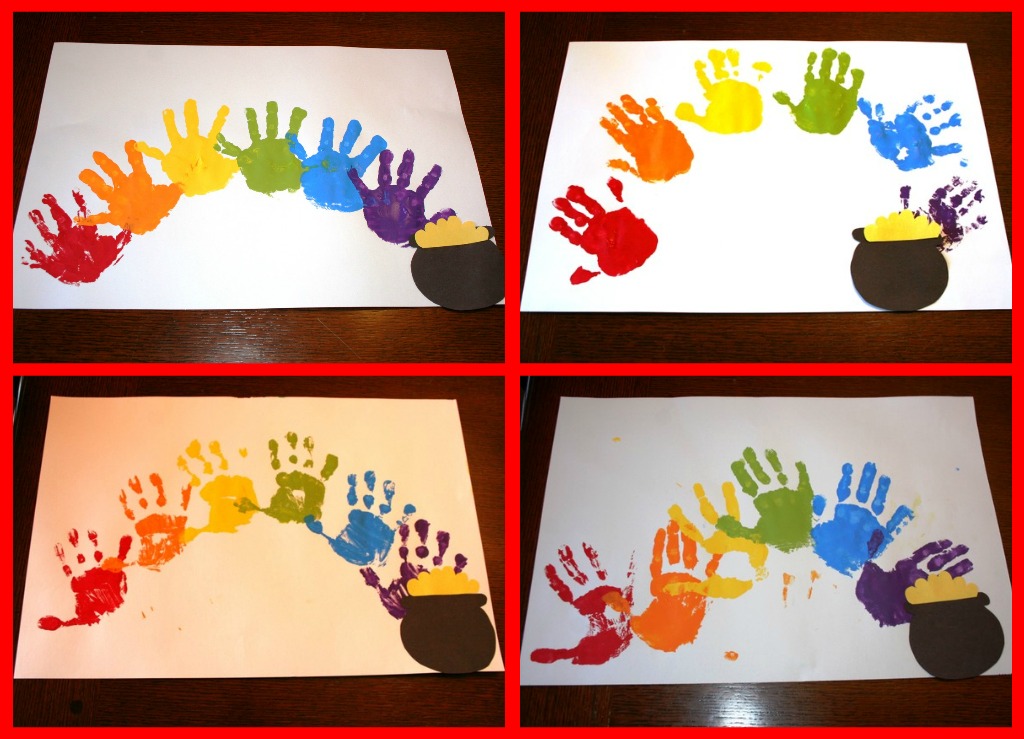
Handprint Rainbow Kids’ handprints made in every color of the rainbow lead to a pot of gold.
via The Logan Family of Five
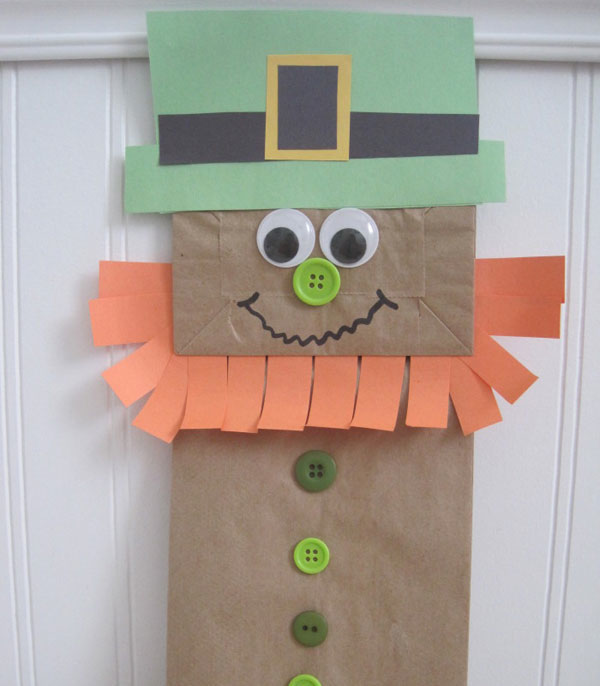
Paper Bag Leprechaun It’s double the fun when you turn a paper sack into a googly-eyed leprechaun who makes for a perfect puppet.
via Pin Inspired
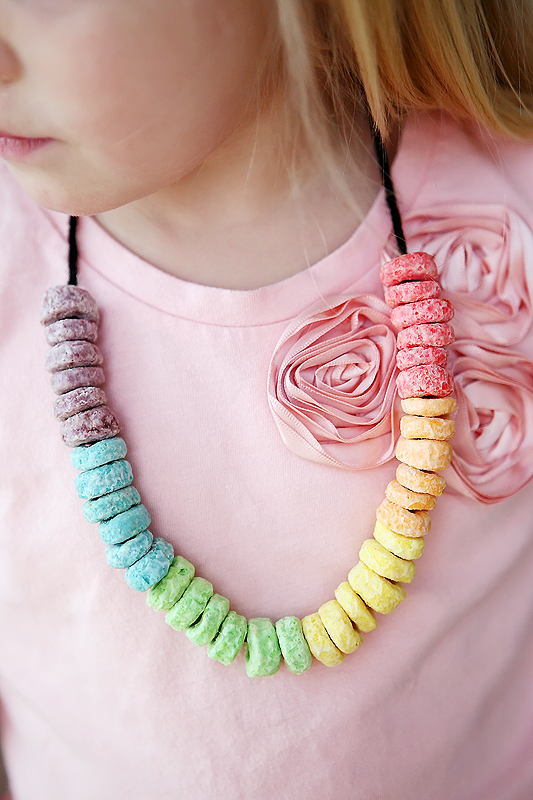
Rainbow Necklace Buy a box of fruity O’s cereal and help your child string a rainbow (or make it leprechaun green) on a shoe string. You’ll have a fun project, cute necklace and a yummy snack.
via Eighteen 25
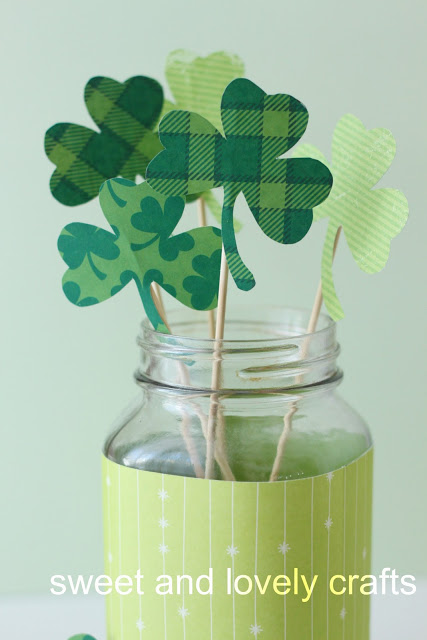
Shamrock Bouquet Here’s a craft that’s as much fun for Mom as it is for the little ones. Make an adorable bouquet of shamrocks using the handy template provided here, and you’ll have a happily entertained crafter and a cute centerpiece for the table.
via Sweet and Lovely
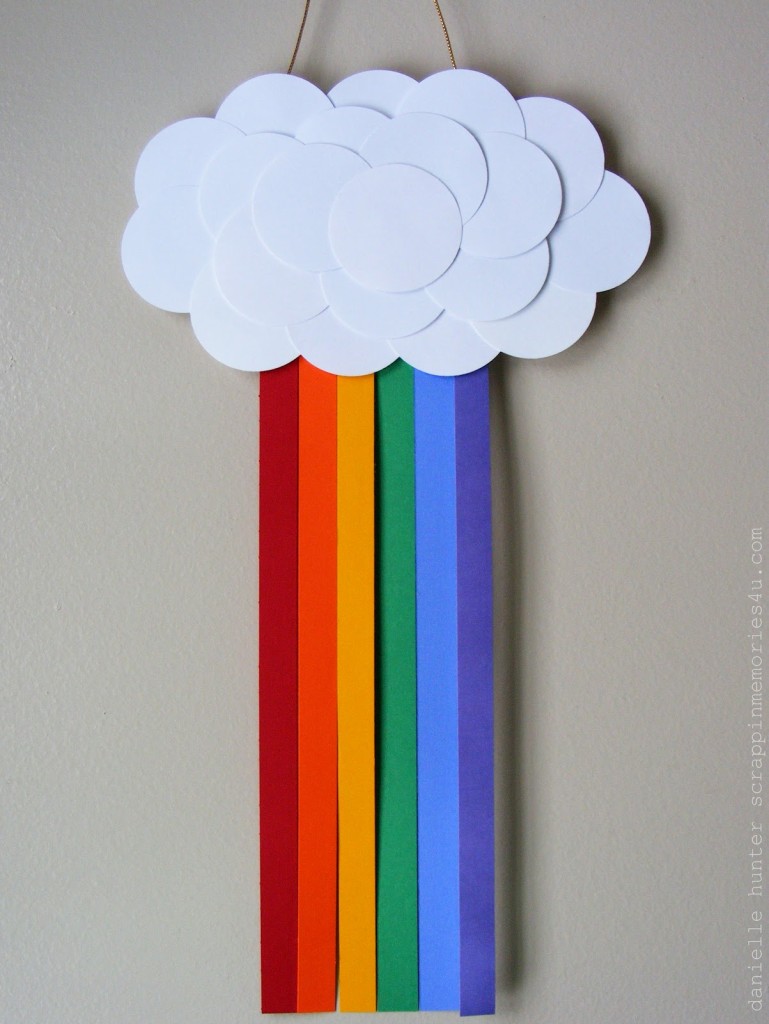
Paper Rainbow A simple craft for even the tiniest tots. Glue dots make it even easier and eliminate the mess.
via Scrappin’ Danielle
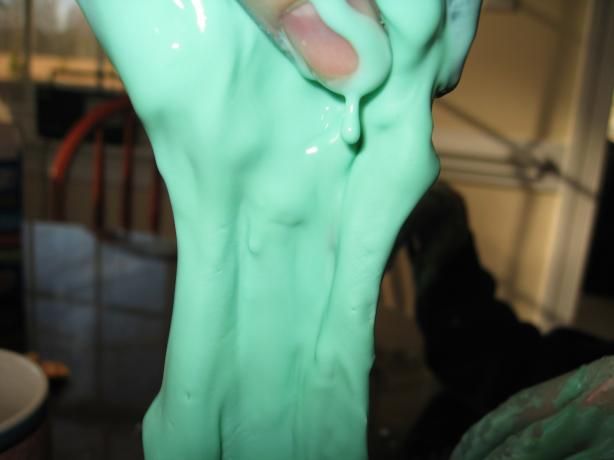
Leprechaun Green Oobleck If you haven’t yet played with the strange, non-edible substance called Oobleck, here’s your chance. Make a green batch!
via Food.com
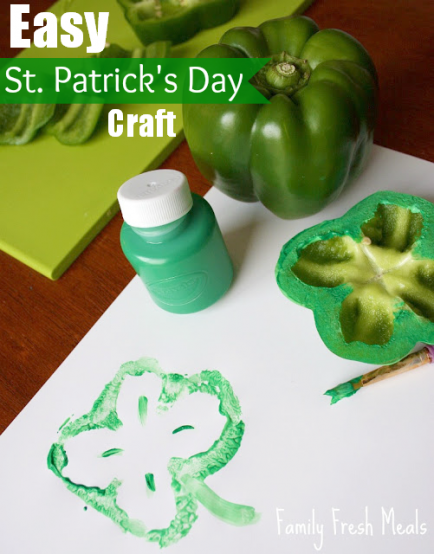
Green Pepper Shamrock Stamp A green pepper easily becomes a shamrock stamp. Who knew?!
via Family Fresh Meals
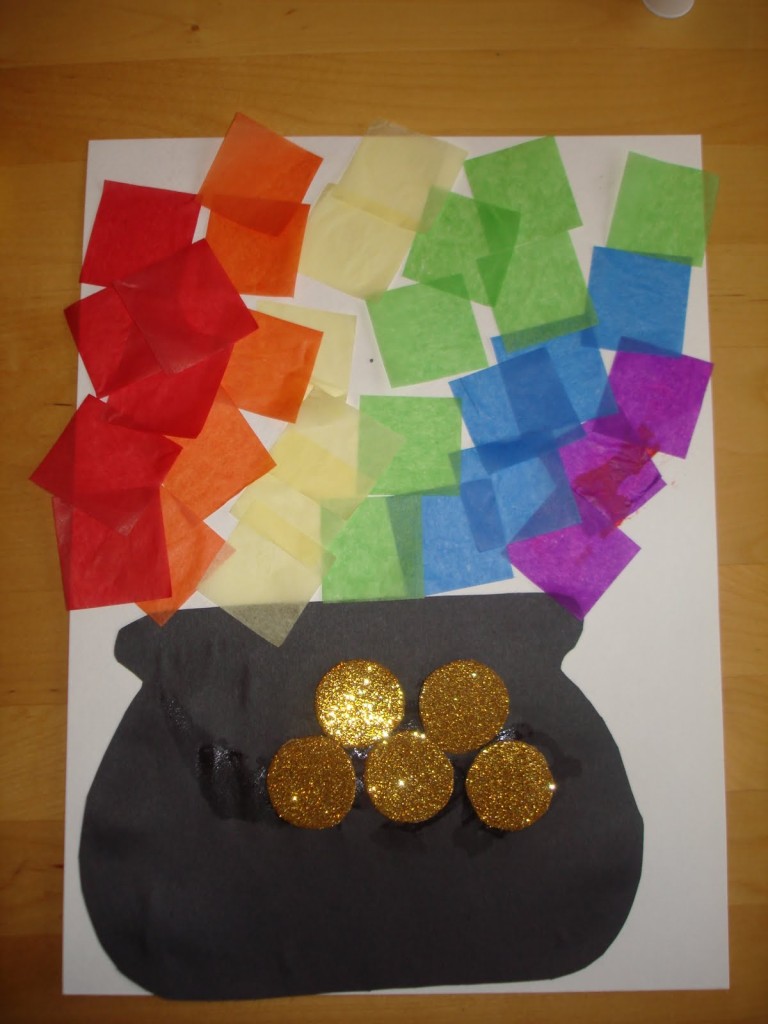
Pot of Gold There’s a template for a shamrock and a pot, but we’re guessing you won’t need them to create this adorable pot of treasures.
via Play and Learn with Dana
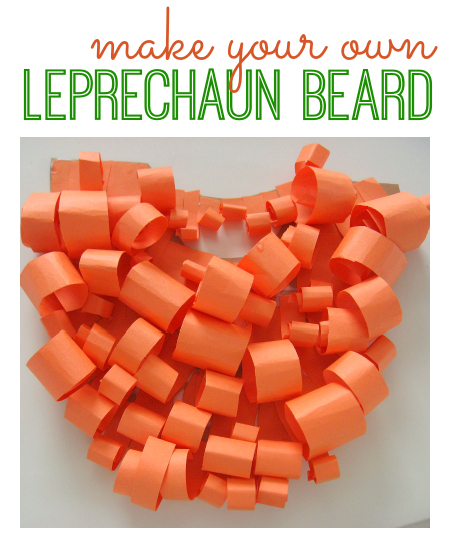
Leprechaun Beard Love, love, love this DIY leprechaun beard you can make for a fantastic dress-up accessory.
via No Time for Flashcards
Search for crafty sitters on UrbanSitter.com! How will your family celebrate St. Patrick’s Day?
Are you a parent looking for engaging and educational activities to do with your preschool-aged children? Look no further! We’ve compiled a list of 10 fun and interactive preschool activities that will keep your little ones entertained while also promoting learning and development.
From math to science, art to literacy, these activities cover a range of subjects and are designed to be easy and enjoyable for both kids and parents. The best part is, you can do these activities using supplies you already have at home. So let’s dive in and explore the wonderful world of preschool activities!
Our Favorite DIY Preschool Activities
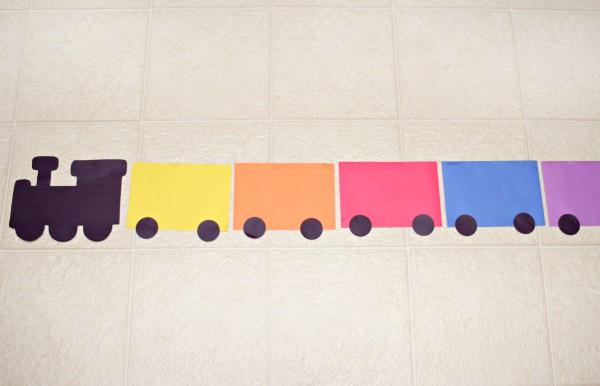
1. Color Sorting Train
Let’s start with a colorful and engaging activity for preschoolers that will help your kids practice their sorting skills and learn about colors. Create a color-sorting train using toys or objects of different colors. Set up different colored carts and encourage your little ones to sort the items into the correctly colored carts. This activity not only promotes color recognition, but also improves fine motor skills and hand-eye coordination.
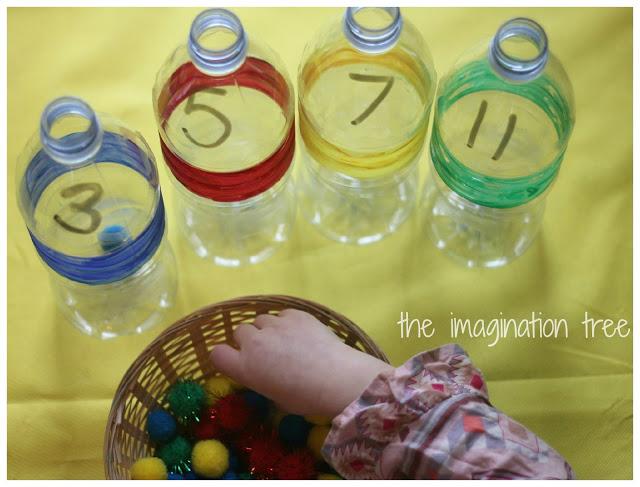
Take sorting to the next level by incorporating counting into this math activity for preschoolers. Gather empty bottles and fuzzy pom poms in different colors. Label the bottles with numbers and colors. Your preschoolers can then sort the correct number of pom poms into the matching colored bottle. This math activity not only reinforces color recognition, but also introduces basic counting skills.
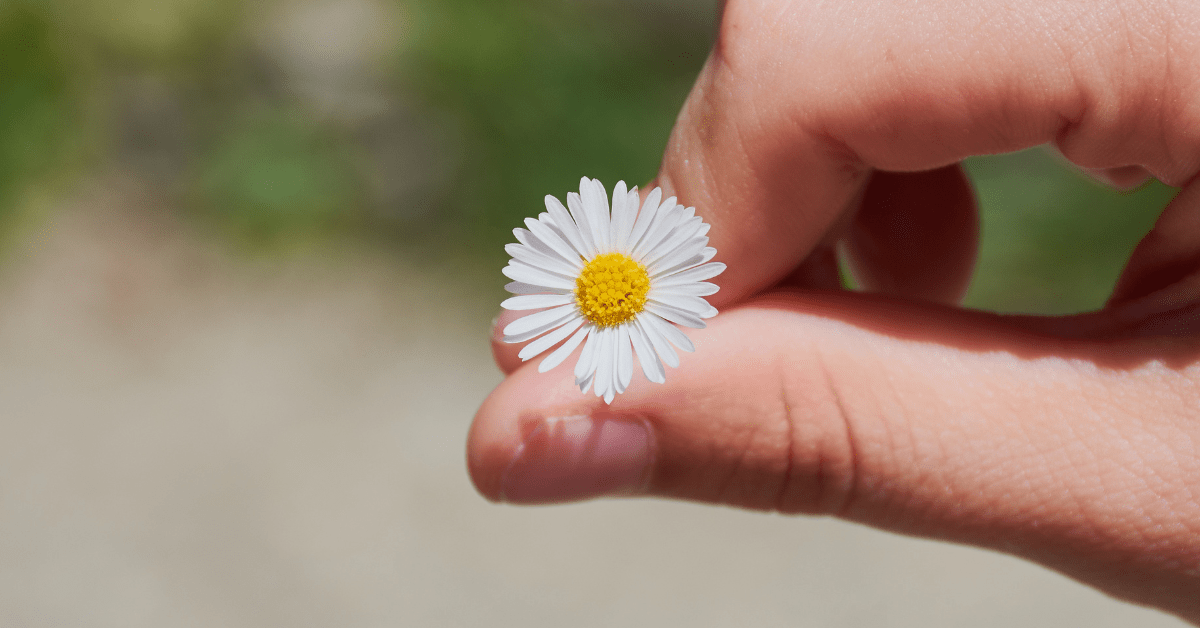
Combine outdoor time with counting practice by engaging your preschoolers in a flower petal counting math activity. Head outside with your little ones and let them pick flowers. Encourage them to count the petals on each flower they find. This activity not only reinforces number recognition, but also allows children to connect with nature and develop their observation skills.
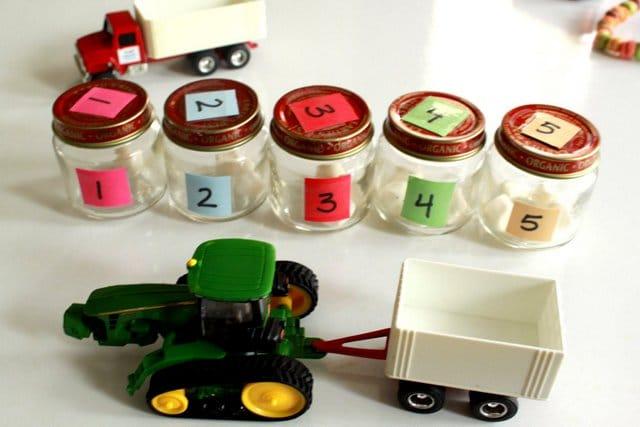
If your child already has a farm or dump truck, this number activity is one of the best math activities for preschoolers out there. Create “grain bins” using containers and fill them with small objects like beans or pasta. Label each bin with a number and challenge your little ones to unload the correct amount of “grain” into each container. This math activity for preschoolers promotes number recognition, counting skills, and fine motor development.
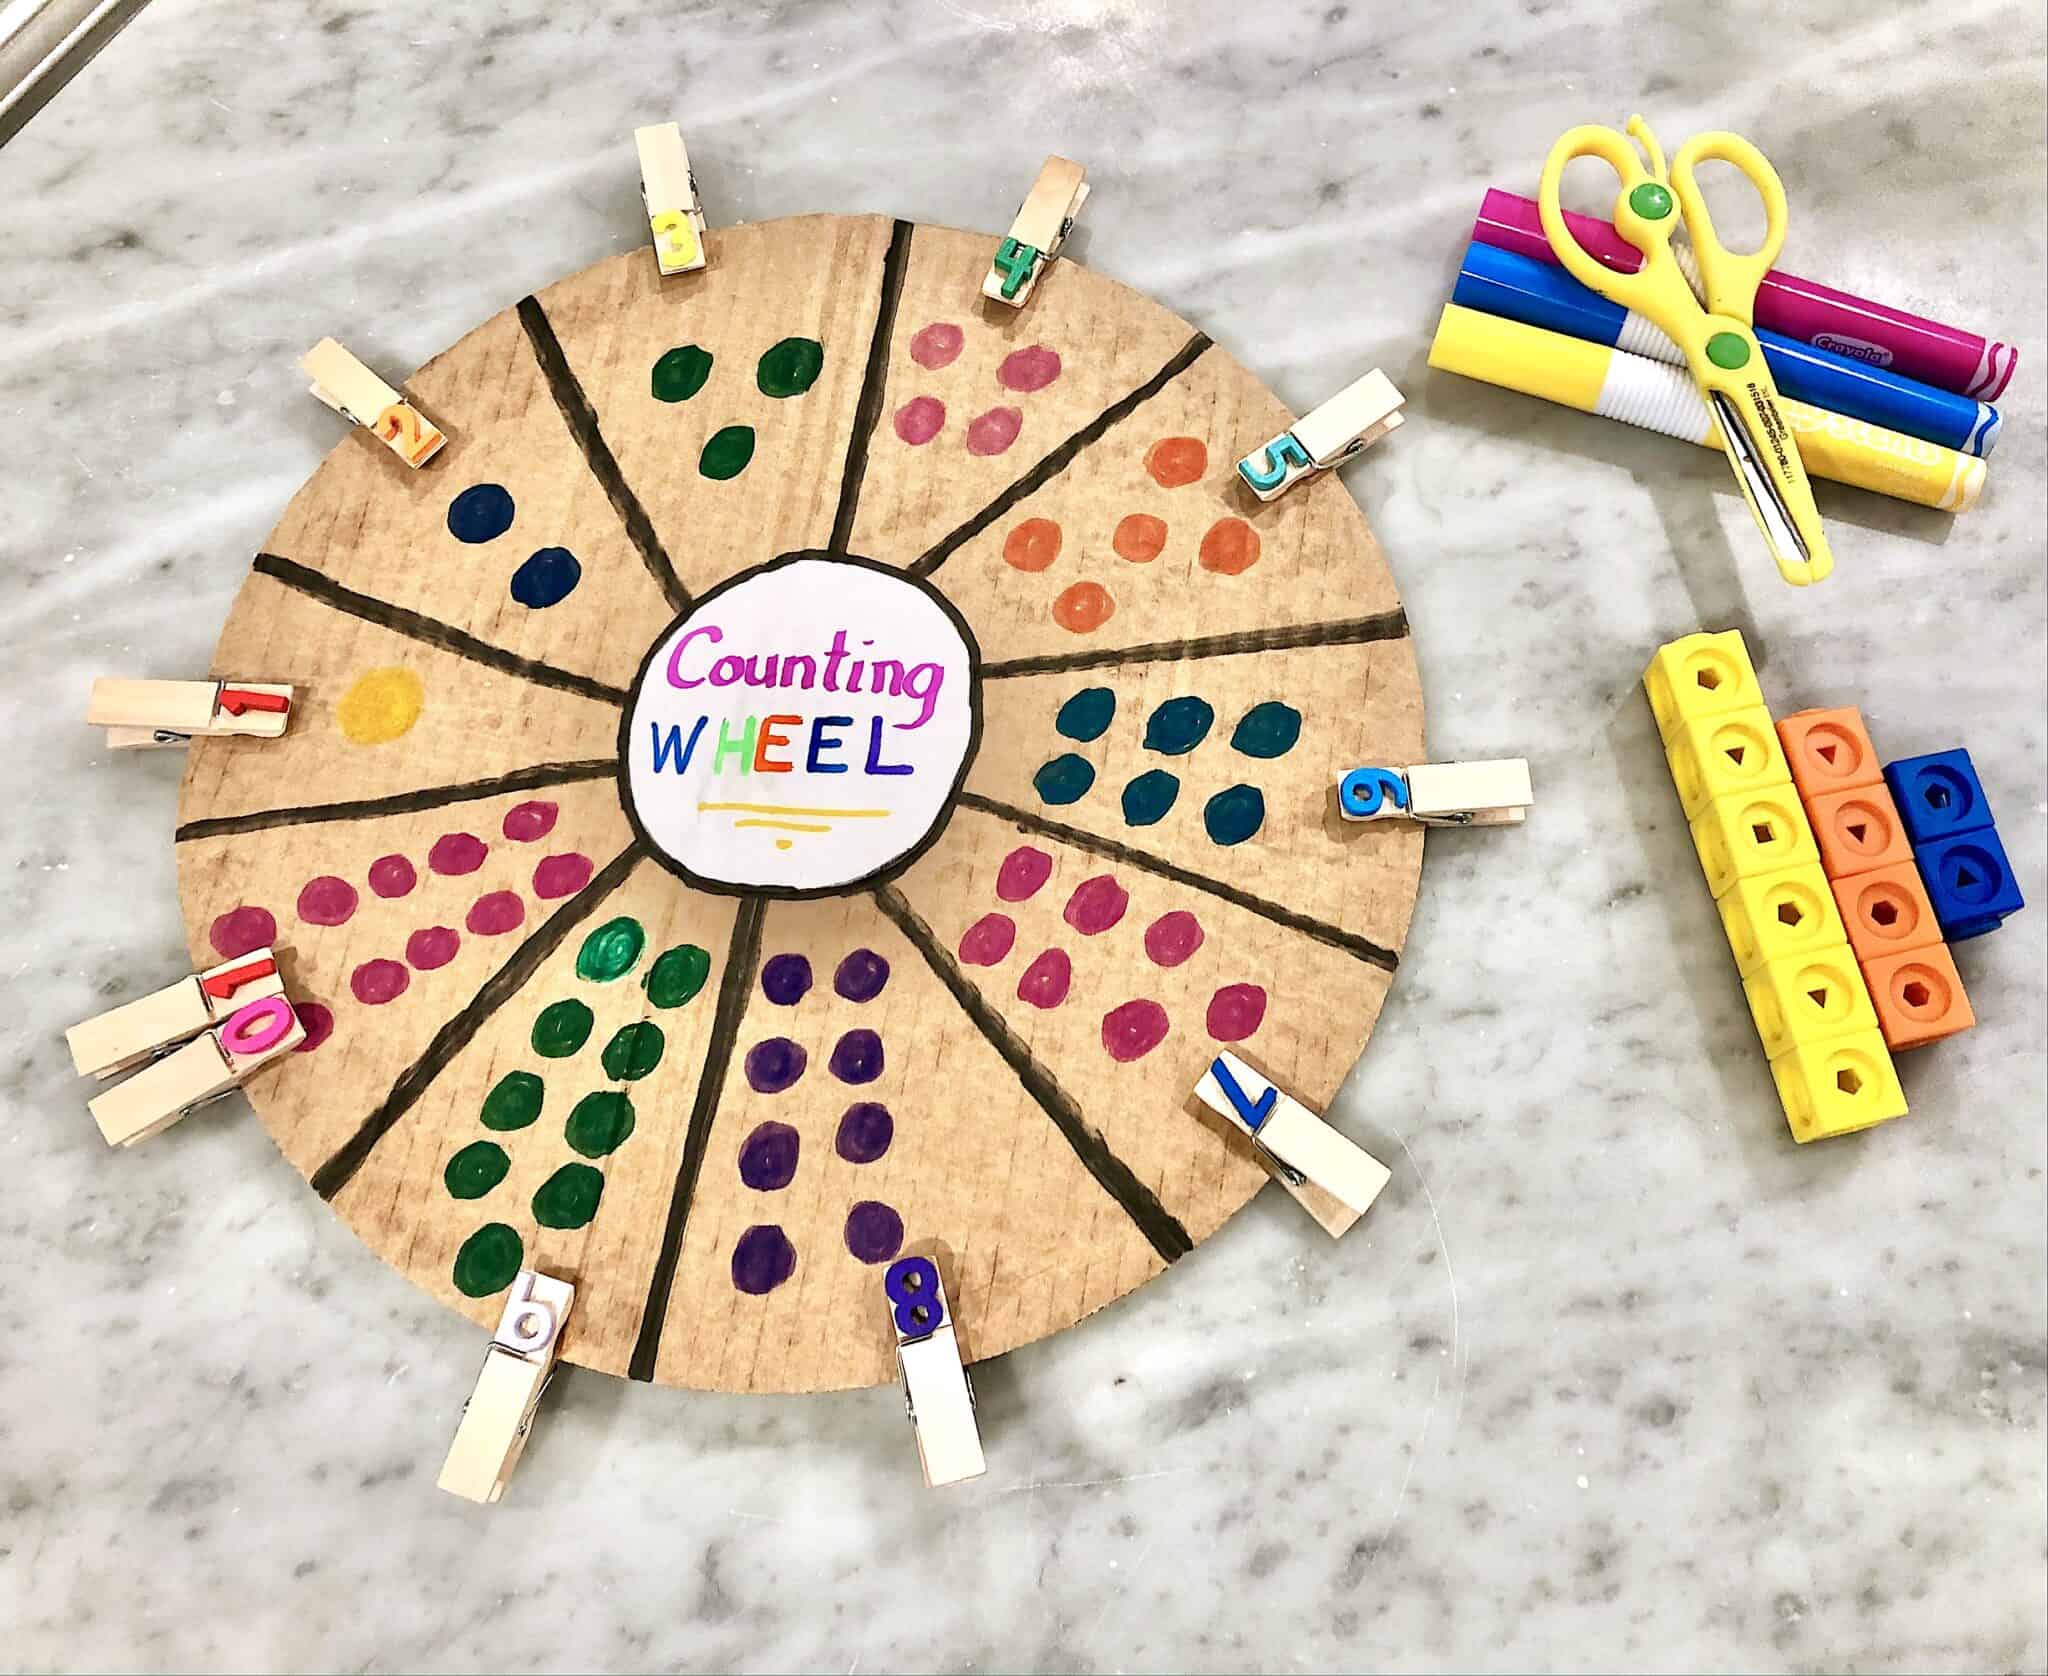
Engage your preschoolers’ fine motor skills with this counting activity using clothespins and cardboard. Create a counting wheel with numbered sections and provide clothespins with numbers on them. Your little ones can practice their number recognition and counting by matching the clothespins to the corresponding section on the wheel. This activity is not only educational but also helps develop hand strength and coordination.
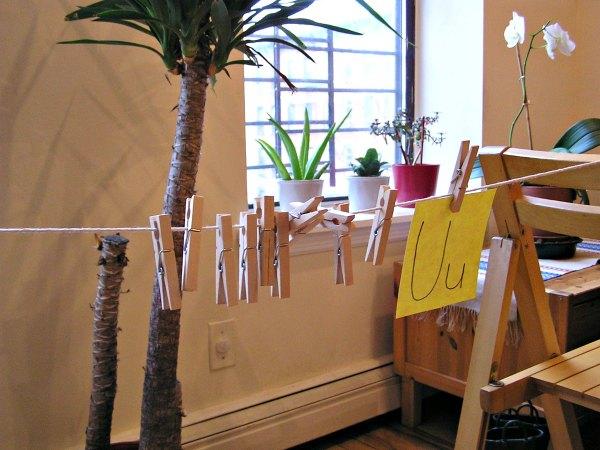
Introduce your preschoolers to the alphabet with this easy DIY clothespin activity. Label clothespins with letters and invite your little ones to pin the letters in the correct alphabetical order. This activity promotes letter recognition, fine motor skills, and hand-eye coordination. It’s a great way to make learning the alphabet fun and interactive.
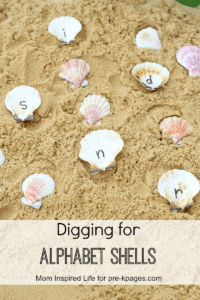
Bring the ocean to your preschoolers’ learning experience with this seashell alphabet activity. Label seashells with letters and bury them in a sensory bin filled with sand. Your little ones can dig for the shells, arrange them in alphabetical order, and even practice pronouncing the letter sounds. This DIY activity combines sensory play with letter recognition, making learning fun and engaging.
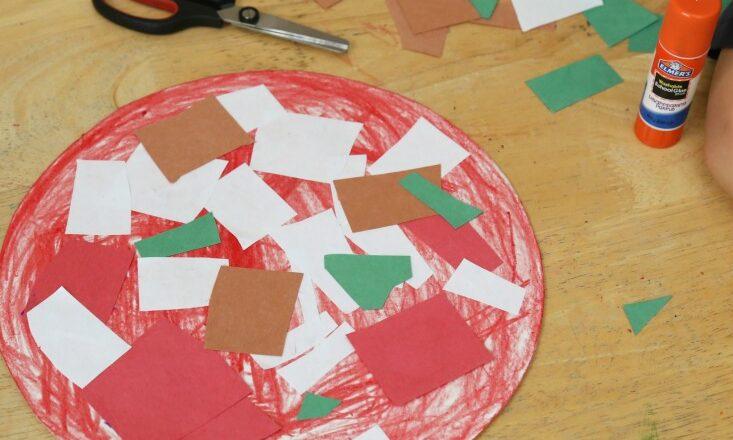
Unleash your preschoolers’ creativity and fine motor skills with this pizza shop activity. Provide paper and scissors for your little ones to cut out different pizza toppings. They can then use their fine motor skills to assemble their own paper pizzas. This art activity for preschoolers not only promotes fine motor development, but also encourages imaginative play and decision-making.
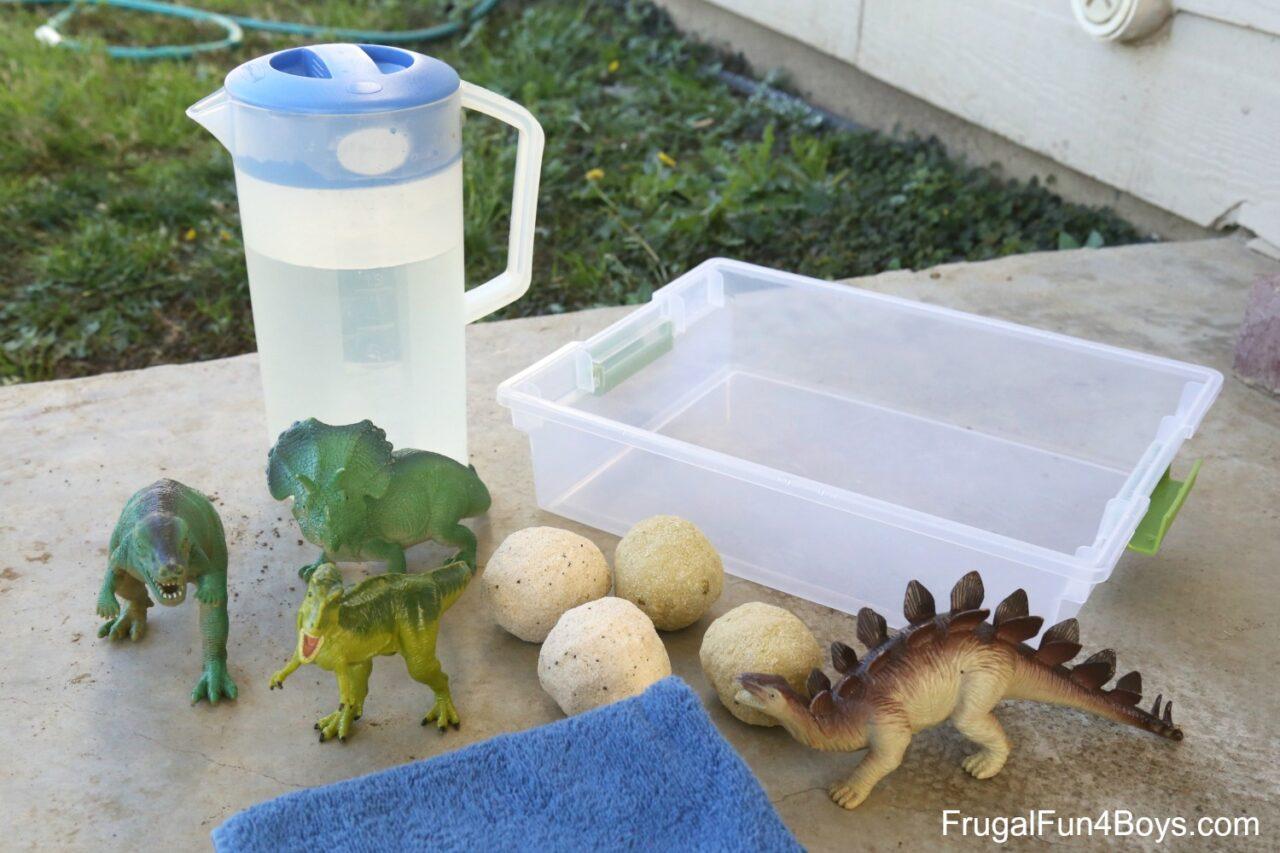
Take sensory play to the next level with these homemade fizzing dinosaur eggs. Create dinosaur-shaped bath bombs using simple ingredients and let your preschoolers watch in awe as the eggs hatch and fizz in water. These kinds of science activities for preschoolers combine sensory exploration with science and encourage curiosity and observation skills.
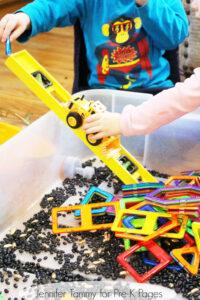
If your preschoolers love construction and building, this sensory bin is perfect for them. Create a construction-themed sensory bin using materials like sand, rocks, and toy construction vehicles. Your little ones can explore the textures and elements of a construction site while engaging in imaginative play. This activity promotes sensory exploration, creativity, and fine motor skills.
While engaging in these fun and educational preschool activities with your little ones, it’s important to have support and assistance when needed. UrbanSitter connects families with trusted sitters and nannies who have experience with preschool-aged kids.
Search and filter for sitters who specialize in caring for preschoolers, ensuring you find the perfect match for your family. With UrbanSitter, you can have peace of mind knowing your little ones are in good hands while you take a well-deserved break or attend to other responsibilities.
Looking for more seasonal activities to do with your preschoolers? Check out our article on Fall Crafts for Preschoolers for a variety of fun and engaging ideas that celebrate the beauty of autumn or get crafty with Spring Crafts for Preschoolers.
Engaging in these preschool activities will not only keep your little ones entertained, but also promote their learning and development. From sorting and counting to sensory exploration and imaginative play, these activities cover a range of subjects and skills.
Plus, you can easily do them using supplies you already have at home. So gather your materials, get ready for some fun, and enjoy quality time with your preschool-aged children as they learn, play, explore, and imagine. Happy learning!
Just like every year, Father’s Day is coming up in June! Get ahead of the curve and start the kids on a homemade gift craft project! Choose one of these simple DIY Father’s Day gift ideas from kids, get your kids busy at the kitchen table with either you or a babysitter to lead the charge, and in no time at all you’ll have a touching and memorable gift to give Dad for Father’s Day.
Terrarium
We can guarantee this awesome gift won’t end up stuffed in a drawer or lost by the end of June. A terrarium is a way cool way to add a little green space to Dad’s world. These instructions from Hallmark’s Think.Make.Share blog are easy for kids to create this in one hour. And it does sound pretty simple – choose a wide-mouthed, clear container; fill with the appropriate soil or sand; plant small succulents or seedlings; and water moderately.
Terrarium via Hallmark Think.Make.Share
Bright and Brilliant Picture Frame
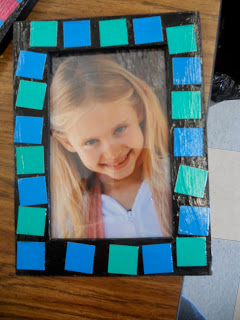
Dad will be happy to replace the boring old photo frame he has displayed on his desk or bedside table with this customized frame creation. Choose a sweet photo of your child, whether it be a school portrait or a candid shot, and insert it in a simple wood frame. The frame pictured here is from Ikea and cost $2 for 3. Have the kids paint the frames black, and once the paint is dry, mod-podge with bright mosaic paper squares like these from Lakeshore.
Frame via Teachers Bits and Bobs
Daddy Questionnaire
Another Father’s Day gift idea kids from kids is to turn a free printable “All About My Daddy” questionnaire into a framed piece of art that’s bound to keep Dad laughing for years to come. The framed questionnaire pictured here uses a custom questionnaire created by Mom and filled in with the answers her child provided. The completed questionnaire was matted and framed in a simple white frame and decorated with a miniature banner created from craft paper and twine. Here’s another free printable questionnaire we found, or create your own. Definitely don’t forget to include your child’s age — it speaks volumes about the thoughtful responses.
Questionnaire via Free Pretty Things for You
Homemade Sweet Treats
Haven’t they always told us that the quickest way to a man’s heart is through his stomach? Give it a shot. You and the kids can whip up some yummy Dad’s Day cupcakes, a batch of his favorite brownies, or even a big waffle breakfast. You’ll have just as much fun baking the goodies as Dad does gobbling them up. Be sure and make extras for tiny tasters. Need some inspiration? Check out these cool cupcake creations for Dads who like to fish, Dads who like to golf, and for those who simply sport a tie. Cupcake images found on Pinterest.
Looking for a sitter to take that special dad out for Father’s Day? Join UrbanSitter to browse profiles and book jobs online.
Hiring a babysitter for a school-age child is often met with some anxiety on both sides unless there are activities planned. The child wonders if the babysitter will make him eat his broccoli and the babysitter hopes against hope that the child is more spunky than sulky. What resources do you have to combat this situation?
Activities to do with kids appropriate for their age:
Ask their parents to pick the game, toy, or computer games they like playing the LEAST. You won’t have the disadvantage of repeatedly being asked to engage in a certain activity and the child will be happy an adult is taking interest in their neglected game or toy.
Have the child make his birthday list (or holiday list if it’s coming up). This is usually a huge hit. Take a plain old piece of paper and have the child write or draw their ultimate wish list. You can even use those umpteen catalogs that come in the mail for inspiration and/or art supplies — cut out what they want and paste on list. Voila!
Paper crafts for kids are among the most popular. If you are not super talented in this area (join the club), get online and look up some free kids crafts on Pinterest. Use the calendar for inspiration. Valentine’s Day? Make paper hearts from coffee filters! Columbus Day? Make a native American headdress from construction paper!
Easy games for kids involving hiding things. Hide a few objects around the house or in the yard and send them hunting. Give them a bag or basket and they’ll be even happier. For older children, make a treasure map. A meticulously-detailed map with clues along the way (akin to a scavenger hunt) will engage them for a while. Perhaps the winner gets to pick the bedtime story or an extra marshmallow in his hot cocoa.
UrbanSitter is ready when you are! Find a local babysitter through people you know and schedule jobs online in minutes.
With temperatures reaching inhumane lows across the country, you or your sitter are likely trapped in the house with the kids and in near desperate need for new ways to keep them entertained. Save your sanity with these fun ideas for keeping little kids happy and engaged.
10 Creative Ideas for Entertaining a Toddler (in the dead of winter!)
1. Fill the tub or the kitchen sink! It’s time to bathe the toys, give the Barbies a spa day or host a car wash. If you really want to surprise your kids, hold the water and instead fill the tub with dried beans or rice and let them scoop and fill to their hearts’ content.
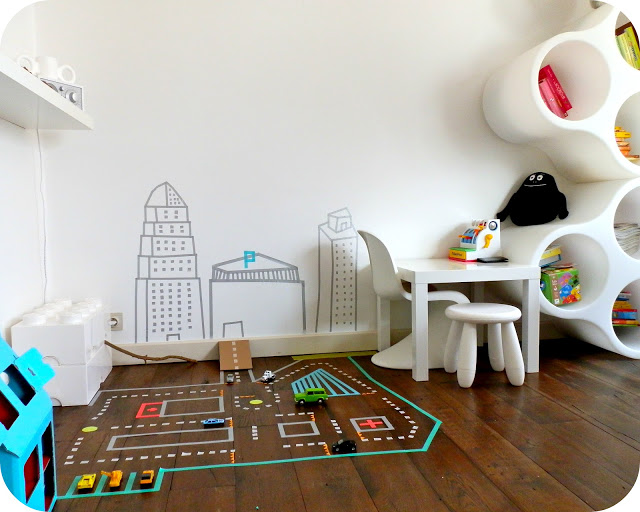
2. Build a slide or tunnel for toy cars to race down and under, using a piece of cardboard atop stacks of books or copy this creative masking tape roadway. Take it a step further with a DIY wasabi race track.
via Le Jardin de Juliette
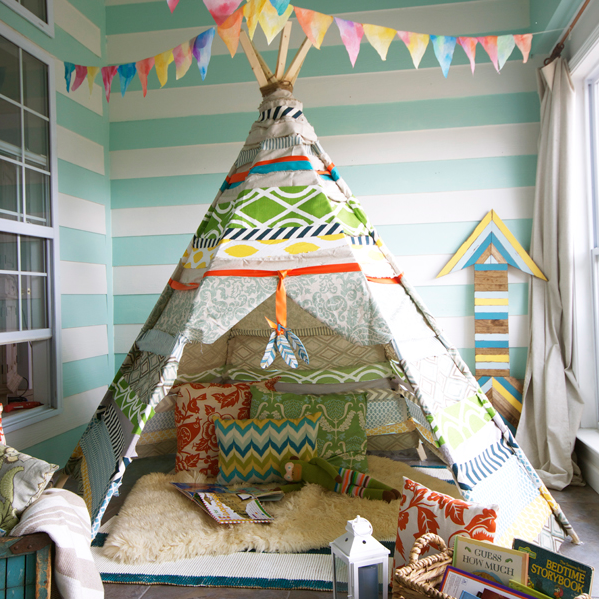
3. Create a fort by draping blankets over chairs and other furniture, and pretend it’s a house, boat or a plane. The opportunities are endless. If your kids love forts, consider creating this no-sew teepee from The Handmade Home.
via The Handmade Home
4. Throw a dance party. Crank up the music and let loose. Get in on the fun and you can knock out your daily workout.
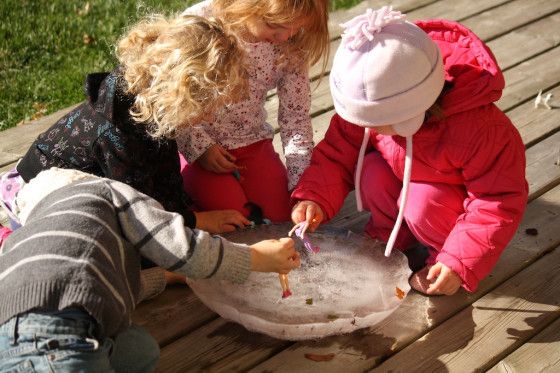
5. Brave the outdoors and create an ice skating party for dolls or action figures, a la the one by Happy Hooligans. She also has an ingenious post on making paint for painting the snow.
7. Toddlers love to push and pull things. Take a toy wagon or baby stroller outside and let them “mow the lawn” or plow the snow.
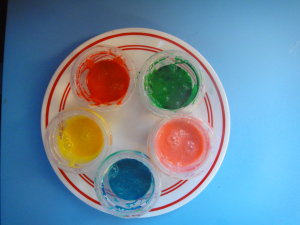
8. Taste test the art supplies!? Yes, break the rules and let them eat the paint with edible finger paints. You can stress less about the mess, since they are made with condensed milk. Super simple!
via Healthy Mama Info
9. Reminisce by going through family photo albums and watching videos made when they were “young.” Slightly older kids will enjoy the walk down memory lane, too. You can take it a step further by talking about their family tree.
10. DIY Matching Game. Use whatever you have on hand, from the socks in the drier to cut lengths from a few spools of ribbon to keep a toddler busy matching.
via The Fickle Pickle
What’s your favorite Winter-time activity? Have you made/done any of the pieces on this list? Tell us in the comments!
There’s a distinct downside to having art- and craft-loving kids. Namely: all that art- and craft-making stuff. Not to mention, the pile-up of the arts and crafts themselves. Find yourself vacuuming up perfectly good beads because you just can’t stand the never-ending sprawl of them across the living room floor? Or secretly tossing projects-in-process into the trash, then pretending you have no idea what became of them when your kid asks? Then you’ve clearly hit your craft-clutter limit.
Never fear, you can take this matter firmly into your own hands. For tips on how to make sense of your mess, we turned to Mabel’s Labels founder (and mom of six), Julie Cole—a woman who knows more than possibly anyone about getting and staying organized.
Toss it. Before you can even begin to tidy up, you first need to assess what should stay and what absolutely needs to go. Markers that don’t work anymore, paint brushes that have lost their bristles, yellowing wads of craft paper—all this should be sent straight to the trashcan. Also remember that not every piece of art your kid makes is created equal. Assess each one honestly, then hold on to those that really mean something to you and your family, and the ones that exhibit that special kid-art-genius flair.
Sort it. Set aside a little time each night or every weekend to pick through the crafty “keep” pile. This is the time to find the stray colored pencils, the paint tubes that wound up under the bathroom sink, the buttons that somehow got mixed in with the souvenir seashells, and put them all to rights—each kind of thing in its own designated pile. You might find more things that need to be deaccessioned. You will certainly discover which items you’ll need to replace—and which you never want to buy again (glitter, anyone? We didn’t think so).
Set it up. If you didn’t have a dedicated crafting area before, designate one now. Or, reclaim an established area with force and conviction. Even apartment dwellers can eek out a little room on the coffee table that’s just for making things, and one shelf (or three) that’s just for craft storage. Maybe your über-crafty kid wants to turn over part of his or her room to the endeavor. In which case, you can reassign closet, desk, and shelf space there. The real work? Making sure that the craft space stays a craft space and that supplies don’t leak out all over the rest of the house.
Stash it. Now it’s time to put everything away. For the big stuff, like rolls of paper and ribbon, and paint and crayon sets, pick up or repurpose some bright, colorful plastic bins that will fit neatly on your shelves. Stash smaller items like beads, buttons, rubber bands, googly eyes, and pipe cleaners in lidded glass jars. Frequently-used items like markers and pencils and even paintbrushes can be stashed in table-top canisters. Give all your bins and containers a home within easy reach of your smallest crafter. And be sure to label everything clearly, for easy cleanup today and hopefully forever!
The 214-year-old Brooklyn Navy Yard is a three-acre industrial park that occupies a small cove just across the East River from Manhattan’s Lower East Side. As a major builder of battleships during World War II, it earned the nickname the “Can-Do Yard,” a title that moldered along with its buildings when the yard was decommissioned in 1966. But lately, it’s been reclaiming its former glory, after the 2004 arrival of Steiner Studios to the park (Boardwalk Empire and the film Teenage Mutant Ninja Turtles were both shot here)—and on its heels, hundreds of “can-do” businesses of all varieties: artist and textile studios, furniture restorers, ship repairers, woodworkers, a rooftop farm, and one seemingly incongruous company with a large “workforce” comprised of people who are all under 48 inches tall.
That company is ConstructionKids and its fearless leader, Deb Winsor, has in her six years in business taught some 12,000 New York City schoolchildren the rudiments and beyond of building things with wood and nails and hammers. Her home base is in the Navy Yard’s Building 92, the former Marine Commandant’s House that serves as exhibit space and education center; the second floor is devoted to ConstructionKids. “People are always amazed when they walk in and with 40 kids, it’s humming like a factory in here and nobody’s fooling around,” says Winsor—loudly over the din—as a group pint-size builders cobble together tool boxes at low tables in the center of the large, project-lined space. “It’s fully engaging for children when we give them the tools and the process to be self-reliant.”
“It’s fully engaging for children when we give them the tools and the process to be self-reliant.”
Construction Kids is a highly likely culmination of a lifetime’s experience for Winsor. “Coming from a family of engineers, I spent a lot of time down in the basement watching what my dad did,” she says. “Carpentry and woodworking really spoke to me.” After majoring in industrial design at Syracuse University, she realized that she wasn’t cut out for office work and wound up in Nantucket, painting houses. That led to historic preservation work, then a move to Long Island to learn about boat building and restoration. Says Winsor, “That was a real game changer, because you can make a chair that looks great, but a chair doesn’t have to float and keep you alive in a storm.” She got a Master’s in historic preservation at Columbia University, “wound up in New York with a family,” and all was plodding steadily on. When she got a call from her son, Jack’s, preschool teacher.
“They were studying igloos,” Winsor recalls. “His teacher said, Can you build an igloo with a bunch of 4-year-olds, in Brooklyn, in May?” The final product—made from a bent wood with fabric stretched over it—was not quite the “igloo” Winsor had in mind. “But we were all down there on our knees on the floor, and it struck a vein with every kid, every teacher, every parent,” she says. That summer, she ran her first two-week camp through the school. “It took off like a shot,” she says.
Now running more than 100 programs city-wide—including afterschool programs at the Navy Yard space and in some 20 schools; vacation and summer camps; birthday parties; and special events—Winsor admits, “We’ve never been quite able to meet the demand. It’s a crazy business model to have!” She credits her success to her commitment to expanding slowly—“If I need to buy three hammers, first I need to make the money to buy three hammers”—as well as meeting a primal need of an increasingly sedentary, screen-focused population of elementary schoolers to do something physical and hands-on. “It’s whole-child learning, which they don’t get much of in school these days,” she says. She offers an analogy to Jack’s first foray into Little League baseball: “He walked across Prospect Park with this bat-weapon in his hand, hitting the ground, the dog, the tree. When I picked him up from practice two hours later, that bat was no longer a weapon; it was a tool and he had been taught to use it. That’s what we do, too. It gives kids confidence.”
Every day, one of Winsor’s teachers arranges the hammers in a different pattern on the floor.
During camp season, Windor takes on some 60 employees but during the regular school year, her staff of 14 teachers, administrators, and fabricators work to ensure that every child who comes to build has a fun, creative, and safe experience. “Someone calls up and says, We need to build the Lincoln Memorial for a program we’re doing in our school,” says Winsor. “Our creative and fabrication teams get together with the educators to talk about what kind of curriculum themes they’re trying to develop, then we build prototypes.” Always, they start kids building with wood because while kids have plenty of opportunities to use clay and paper and fabric in school, wood is not often offered as a material.
Winsor’s program also begins with hammer and nails—the “iconic tools,” as Winsor calls them. “When it’s paper, it can only be wrong or right, but if you bend a nail, you can take it out and put in another one; it doesn’t feel like a failure,” she explains. From there, kids progress to saws and vices, then wrenches and bolts, then nippers and pliers. At each step, they’re taught how to hold the tools correctly and most of all, safely.
The age of the kids is of paramount in importance in determining programming. Not only are the materials scaled down to meet their physical needs and abilities—like four-ounce hammers for the littlest builders—so are the expectations. “We work with little, tiny 3- and 4-year olds who are still learning what a triangle, square and rectangle are,” says Winsor. “So, we spend a disproportionate amount of money on program development,” to make sure Construction Kids get things just right.
On the other, older-kid, end of the spectrum, “It was transformational day for me when the three boys arrived and told me they wanted to build Yankee Stadium,” Winsor laughs as she remembers. “Which also was the day we established one of our few cardinal limits, which is, any project you build in this workshop has to fit through a New York City subway turnstile”—the measurements for which, along with those for those of an American Girl doll, Winsor and her team have committed to memory.
Teaching kids how to use tools responsibly gives them confidence—part of the core culture of ConstructionKids.
And indeed, in an era when so much is made about creating STEM opportunities for girls, Winsor admits to a certain amount of frustration around persisting gender stereotypes. “Making is a gender-neutral skill,” she says. “So, we embrace the American Girl doll as an opportunity for girls to do architecture around this omnipresent character. We don’t have a marker for girls that we can recognize as ‘building’ except for their creative play—making environments for dolls—but that to me is science and STEM and architecture and planning. I don’t know if everyone sees it that way.”
The final component to making ConstructionKids such a unique space is what Winsor calls an “intergenerational connection.” Staff is often high school and college students—grownups who are not quite peers but more along the lines of older cousins, or family friends. Says Winsor, “We teach them that their role is to be a safe buddy, so kids can step out of that teacher-child, parent-child world they spend their whole day with. That’s a big part of our culture.” She talks about the joy of watching kids of all ages learning from each other in her big, bright, tidy, and tool-filled space. “They’re marching over to get their end-nipper, or marching over to the vice to chuck up their piece of wood,” she says. “Confidence—that’s what we’re about. It’s pretty fantastic stuff.”
Children love maps. The graphic imagery of even the simplest charts can give them lots to feast their eyes upon, and to dream about. But maps also help them make sense of the world around them—something grownups, who’ve committed thousands of routes to memory, often take for granted.
The warming weather provides the perfect opportunity to accompany your budding cartographer out into the neighborhood, to sketch up the way to a friend’s house, or the playground, or just once around the block. Some kids prefer to draw places they see in their imagination. Either way, inspired by the book Mapsby Aleksandra and Daniel Mizieliński, and featuring images from the accompanying Maps Activity Book, here we offer a primer in the ancient art of map making.
What you’ll need:
Writing implements—pencils and colored pencils, markers, pastels
Paper—either a printout of one of the templates below, or plain paper of your choosing
1. Decide what you want to make a map of. Will it be a map of a place you know already—like your room or your block? Will it be a map of someplace big, like the whole Earth or a made-up planet? Or will it be a map of someplace small, like your school or your neighborhood? Take a tour of the place—if you can—to get the lay of the land.
2. Map out your map. With light pencil or chalk marks, rough out where everything on your map will go: buildings, streets, parks, trees, oceans, cars—whatever you fancy! Then work on making your map more permanent, with firmer marks and color and details like windows on buildings, or waves on the sea, or leaves on your trees.
3. Label the things you’ve drawn on your map: Nico’s house, the Indian Ocean, Christmas Street. Then, make a legend. A legend tells things like how many inches equal a mile, what the capital of your country is, and what the native language is. If you like, you can also draw pictures of local birds and flowers, and the people (or aliens!) who live here.
4. Finally, make sure you give your map a compass rose, so the people who use it know which direction they’re heading in!
The weather’s warm and the birds are fitting all through the neighborhood! Turn your window or fire escape into a bird-viewing station by luring in some feathered friends to nosh at this seed feeder, made from an empty snack container. This easy, cheerful craft comes to us from Project Kid by Amanda Kingloff. When you’re done with it, you might just be inspired to make a dozen more!
What you’ll need:
1 small nut can (about 3 inches in diameter)
Scissors
1 6-inch stick
Tacky glue
Outdoor craft paint
1-inch foam brush
Twine
2 wooden beads
1. First, empty the can: Peel the foil cover halfway back and remove the nuts. Cut off the unattached foil, then cut a 1⁄4-inch slit vertically in the center of the remaining foil and fold the edges down on both sides to create a wide V shape. (We want the birds to enjoy their meal without injury.)
2. To create the perch, punch a small hole near the bottom of the attached foil with the end of the stick and push the stick through. Before the stick hits the back of the can, apply glue to the bottom edge of the stick and let it rest standing up in the bottom, back edge of the can until dry.
3. Paint the outside of the can and let it dry. Add a second coat if necessary.
4. Cut a piece of twine that’s 5 feet long, plus as much as you’d like to use to hang the feeder. Find the center point of your length of twine and place the bottom edge of the feeder on it. Wrap each end of the twine around the can about three times, until both ends are once again at the top. Tie a knot, thread the beads over the two ends of the twine, and hang outside. Voila! You’re done. And the birds will surely thank you.
It’s spring, which means it’s a great time to bring some nature inside for you and the kids to nurture and enjoy. These easy decorative plant hangers are easy to bead together—think of them as macramé without the fuss. And they serve a three-fold purpose: they provide a fun craft for an otherwise dull afternoon; they enliven boring terra cotta pots; and they get plants up off the floor and other easy-to-reach surfaces where they can be easily knocked over.
These come to us from our friends at Crafting Community and we think you’ll have so much fun making them you won’t be able to stop at just one!
What you’ll need:
2 7-foot lengths of butcher’s twine, or other sturdy rope
A yardstick
Assorted colorful wood beads
Assorted small, low-maintenance plants from your local nursery; cactuses and other succulents make good choices
1. Stretch out your two pieces of twine together, fold them in half, and knot them together in the center, 2 inches from the top of your loop. Line them up as pictured on the yardstick, splitting the 4 strands into 2 groups: AB and CD
2. Add a few beads to the strands in each group, then secure group AB with a knot 17 inches down from your top knot; repeat for group CD, making sure the knots are even.
3. Four inches below your last set of knots, knot B & C together, and A & D together. Again, make sure the knots are even.
4. Repeat step 3, knotting strands from opposite groups together.
5. Two inches below your last pair of knots, knot all 4 strands together.
6. Test out your pot in your hanger, making any adjustments to knots that may be necessary.