Have you noticed that bracelets are all the rage these days? You can get current and also score big points with your child by arming your babysitter with these awesome DIY bracelet craft ideas. We’ve rounded up 10 DIY Bracelets that kids – little and big, girl and boy – will go wild to create and wear!
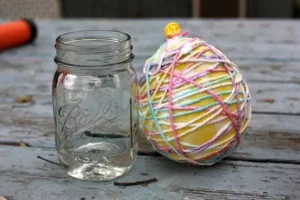
1. Popsicle Stick Bracelets
Thank you Molly Moo for providing the inspiration and showing us how to make popsicle sticks pliable enough to wrap around a glass into the shape of a bracelet. Once the sticks are dry, you can decorate them with wasabi tape (for instant gratification) or embroidery thread with the ends of the thread capped with beads for a dangly look.
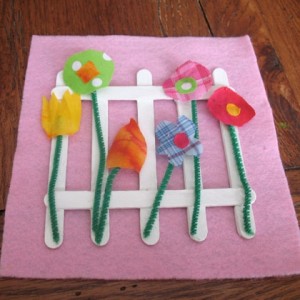
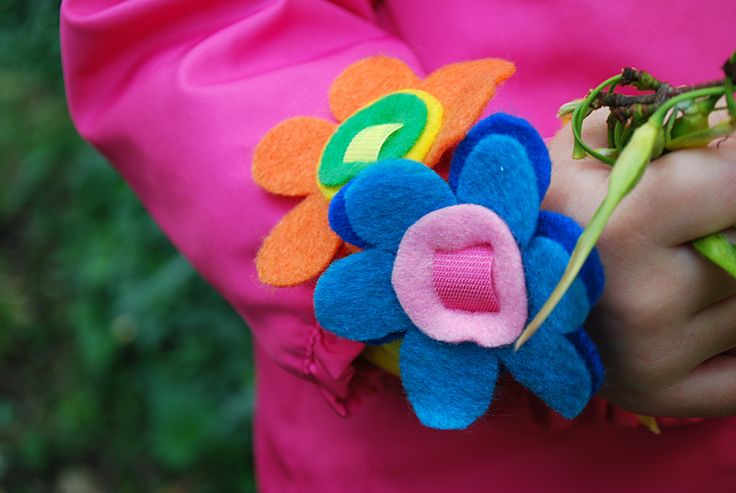
2. Felt Flower Bracelets
Though gorgeous, this craft require a bit more manual dexterity and involves more steps than some of the others. The bracelets are delightful for little kids to wear, but plan on your sitter, an older sibling or yourself doing much of work. You can download a free pattern for the felt flowers and you’ll need to purchase a roll of Velcro, along with felt. Merriment Design recommends something called Velcro Plant Ties, which is basically a roll of a thin strip of Velcro, which will serve as the base of your bracelet.
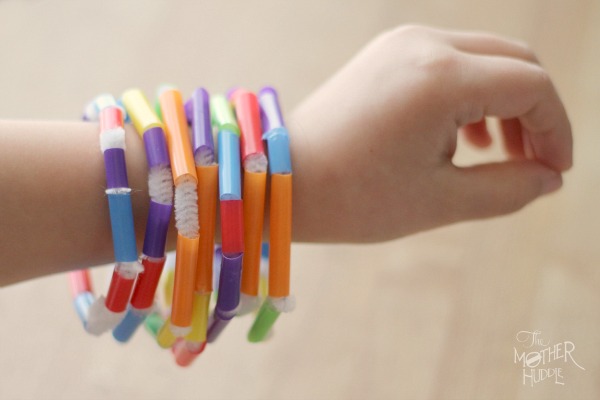
3. Straw Bracelets
Here’s a simple, sweet project perfect for tackling when you have really little kids involved. The bracelet is cute enough that older kids won’t mind that it’s as easy as cutting drinking straws into pieces (an adult can do the cutting for little ones) and stringing them onto pipe cleaners, which are then twisted to form a bracelet. You can get bigger kids more interested by encouraging them to create patterns with the different color pieces.
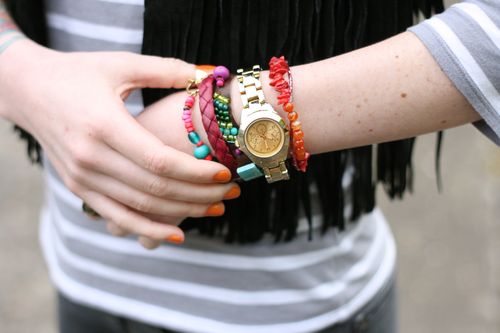
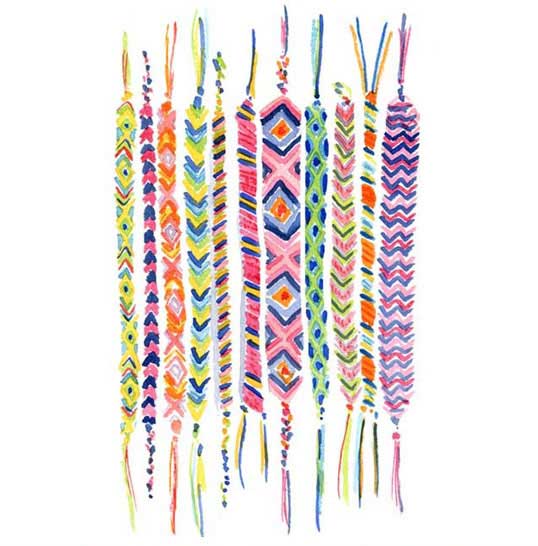
4. Friendship Bracelets
Wow, these bring back memories! Remember making these when you were a kid, loading up your arms with them and gifting and trading them with friends? If the how-to isn’t too fresh in your mind, check out this great tutorial from Apartment Therapy. It’ll be like riding a bike. Before you know it, you’ll be whipping out a few to bestow on your little one and maybe just helping her to start a new trend in the hood.
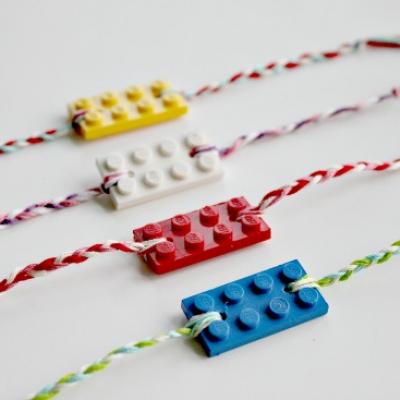
5. LEGO Bracelets
What’s just as popular with kids as bracelets? Why, LEGOSs, of course. There is a small supply list for these, though be forewarned that the project requires a drill. Thanks to The Centsible Life for listing the requirements – (lots of) flat LEGO bricks, a drill and 3/32″ drill bit, embroidery thread (three colors per brick) and scissors. You or a handy sitter will need to prepare the bricks for your kids to string by stacking bricks and drilling a small hole on each end of the stack. Complete instructions included here.
6. Pom Pom Bracelets
Martha Stewart showcases Pom Pom bracelets as a winter holiday accessory, which would be lovely, but we think they’d also make for cheerful, colorful, summery arm candy. Buy pom-poms with holes in them, and help kids thread them onto clear stretchy beading cord. Tie off the ends with several double knots.

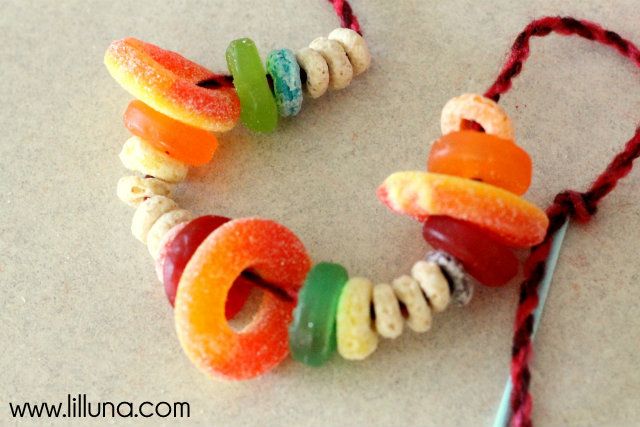
7. Candy Bracelets
Imagine telling your kids you are about to provide a fun craft to make, candy to eat and a new piece of jewelry to wear! You’ll need to hit the candy and cereal isles to stock up on supplies for these yummy, wearable treats. Lila Luna used Cheerios, Froot Loops, Peach Rings and Gummy Lifesavers, but any candy or cereal with a hole in the middle will work. Simply help kids string them on length of yarn. It’s helpful to use a blunt, plastic needle for threading.
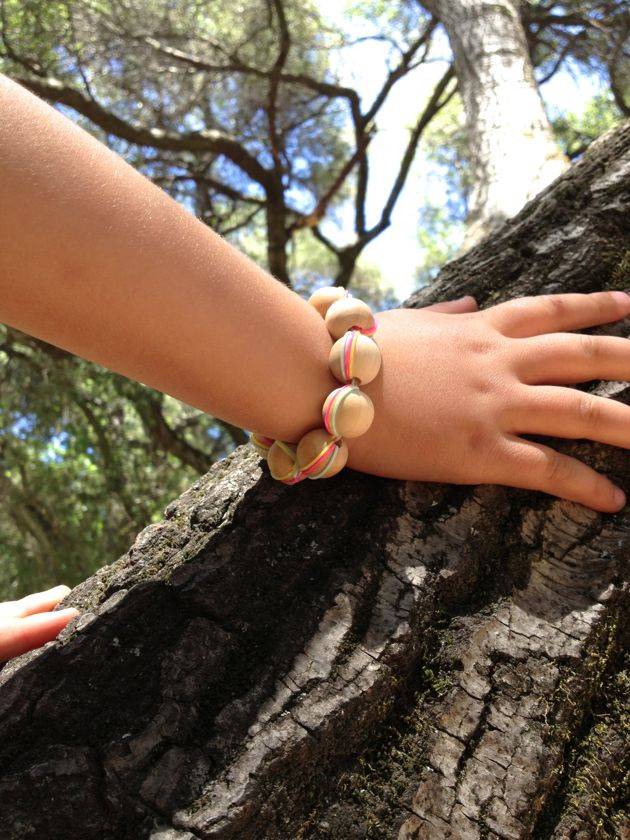
8. Wooden Bead Bracelets
Here’s a sweet, modern take on old-school wooden beads on a cord. You need nothing more than a bag of ¾” wooden beads, 1mm stretch cord (three colors are ideal, but you can certainly make these with more or less), and scissors to cut the elastic-like stretch cord. Playful Learning gives a simple tutorial:
- Count out 10-12 beads
- Measure 3 strands of stretch cord at 18”
- Holding ends together, thread cord through the first bead.
- Pull the ends through, wrap them around the bead, and pull back through
- Pull taut to secure, leaving about 2” of cord length at the end
- Using the remainder of the cord, repeat looping and pulling through on the remaining beads until all ten are lined up snugly.
- Double knot and tightly tug the cord taut at the end and trim to about 1/4”
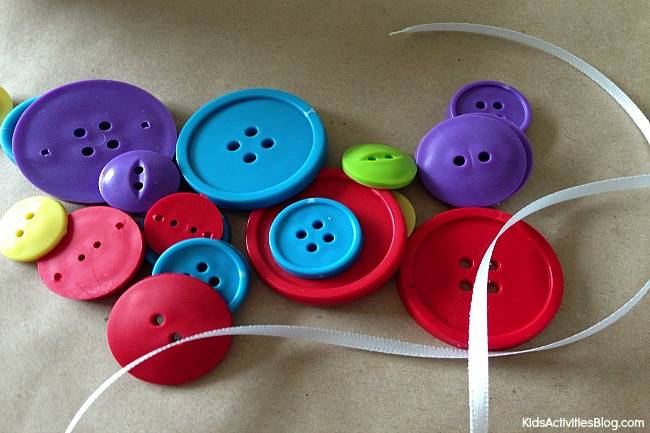
9. Super Easy Button Bracelet
A button bracelet is excellent for building fine motor skills. You can cater to your child’s age by using buttons with bigger holes for little kids and smaller buttons for older kids. Buttons with smaller holes will require a needle for threading the ribbon. You can find blunt needles that are safer for kids to use. Simply gather a collection of buttons and some ribbon to string through the holes. Weave the ribbon through the buttons, coming up from underneath the button, crossing over the top, and dipping back down again on the other side of the button. Once you have threaded on enough buttons for the length of your bracelet, tie the two ends of ribbon together and voila, a new bracelet!
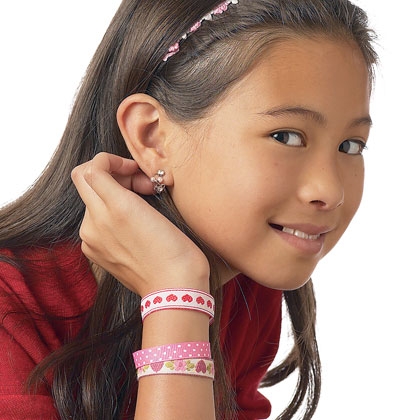
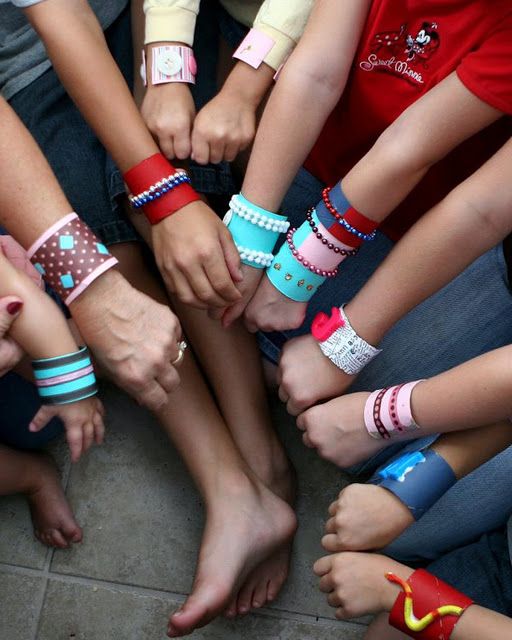
10. Secret Message Ribbon Bracelets
Not your ordinary friendship bracelet, these lovelies have a secret message written on the inside. And just as nice, they take only minutes to make. You’ll need ribbon, self-adhesive Velcro (bought as precut circles or strips you cut yourself), tacky glue (optional), a white office label and a pen or marker to write your message. Instructions via Spoonful: Cut the ribbon into a piece long enough to wrap around your child’s wrist with extra for folding under the ends. Fold down one end of the ribbon and adhere one half of a Velcro piece, then flip over the ribbon, fold down the end, and attach the other half of the Velcro. Add a drop of glue under each piece of Velcro if needed (depends on the ribbon and Velcro used). Cut the label to fit (if necessary), write a message on it, then stick it to the inside of the bracelet.